Decal Application Instructions


What you will receive...
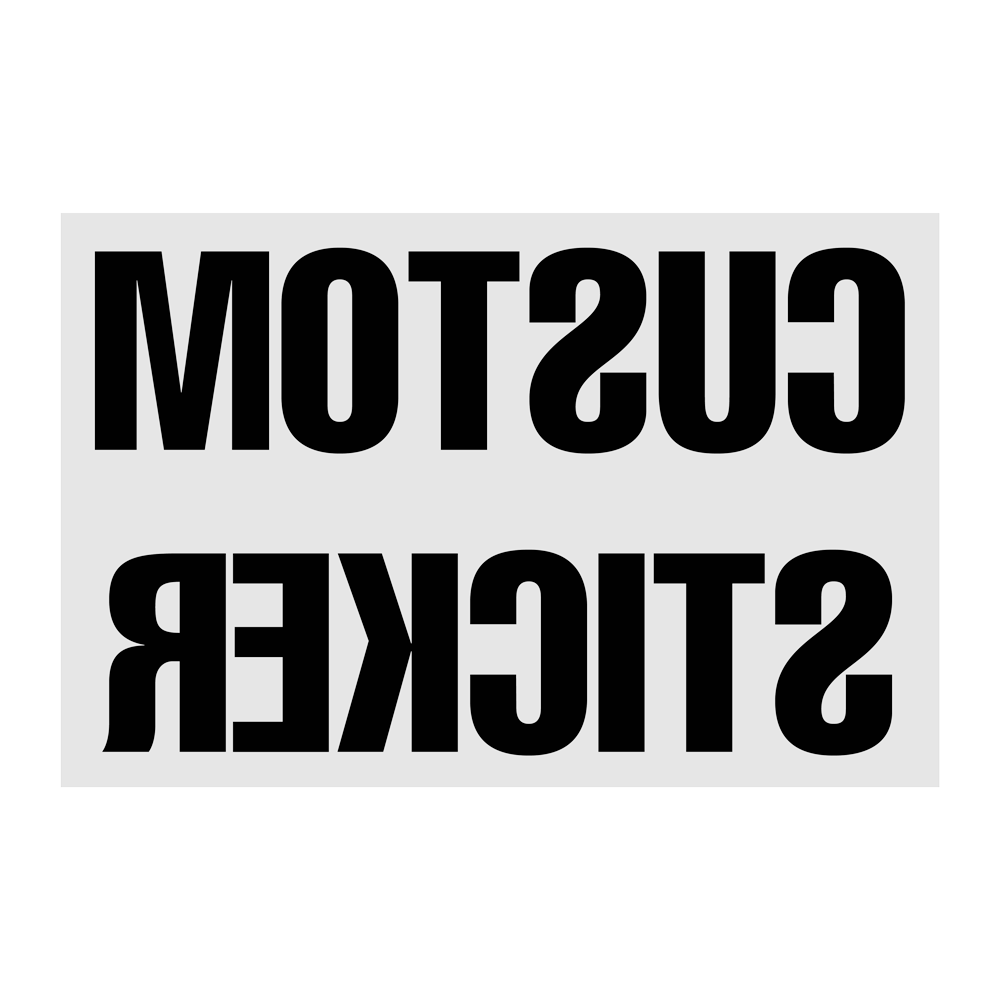
- Your decal sticker will be sandwiched between a blue or white backing paper and a clear plastic application tape.
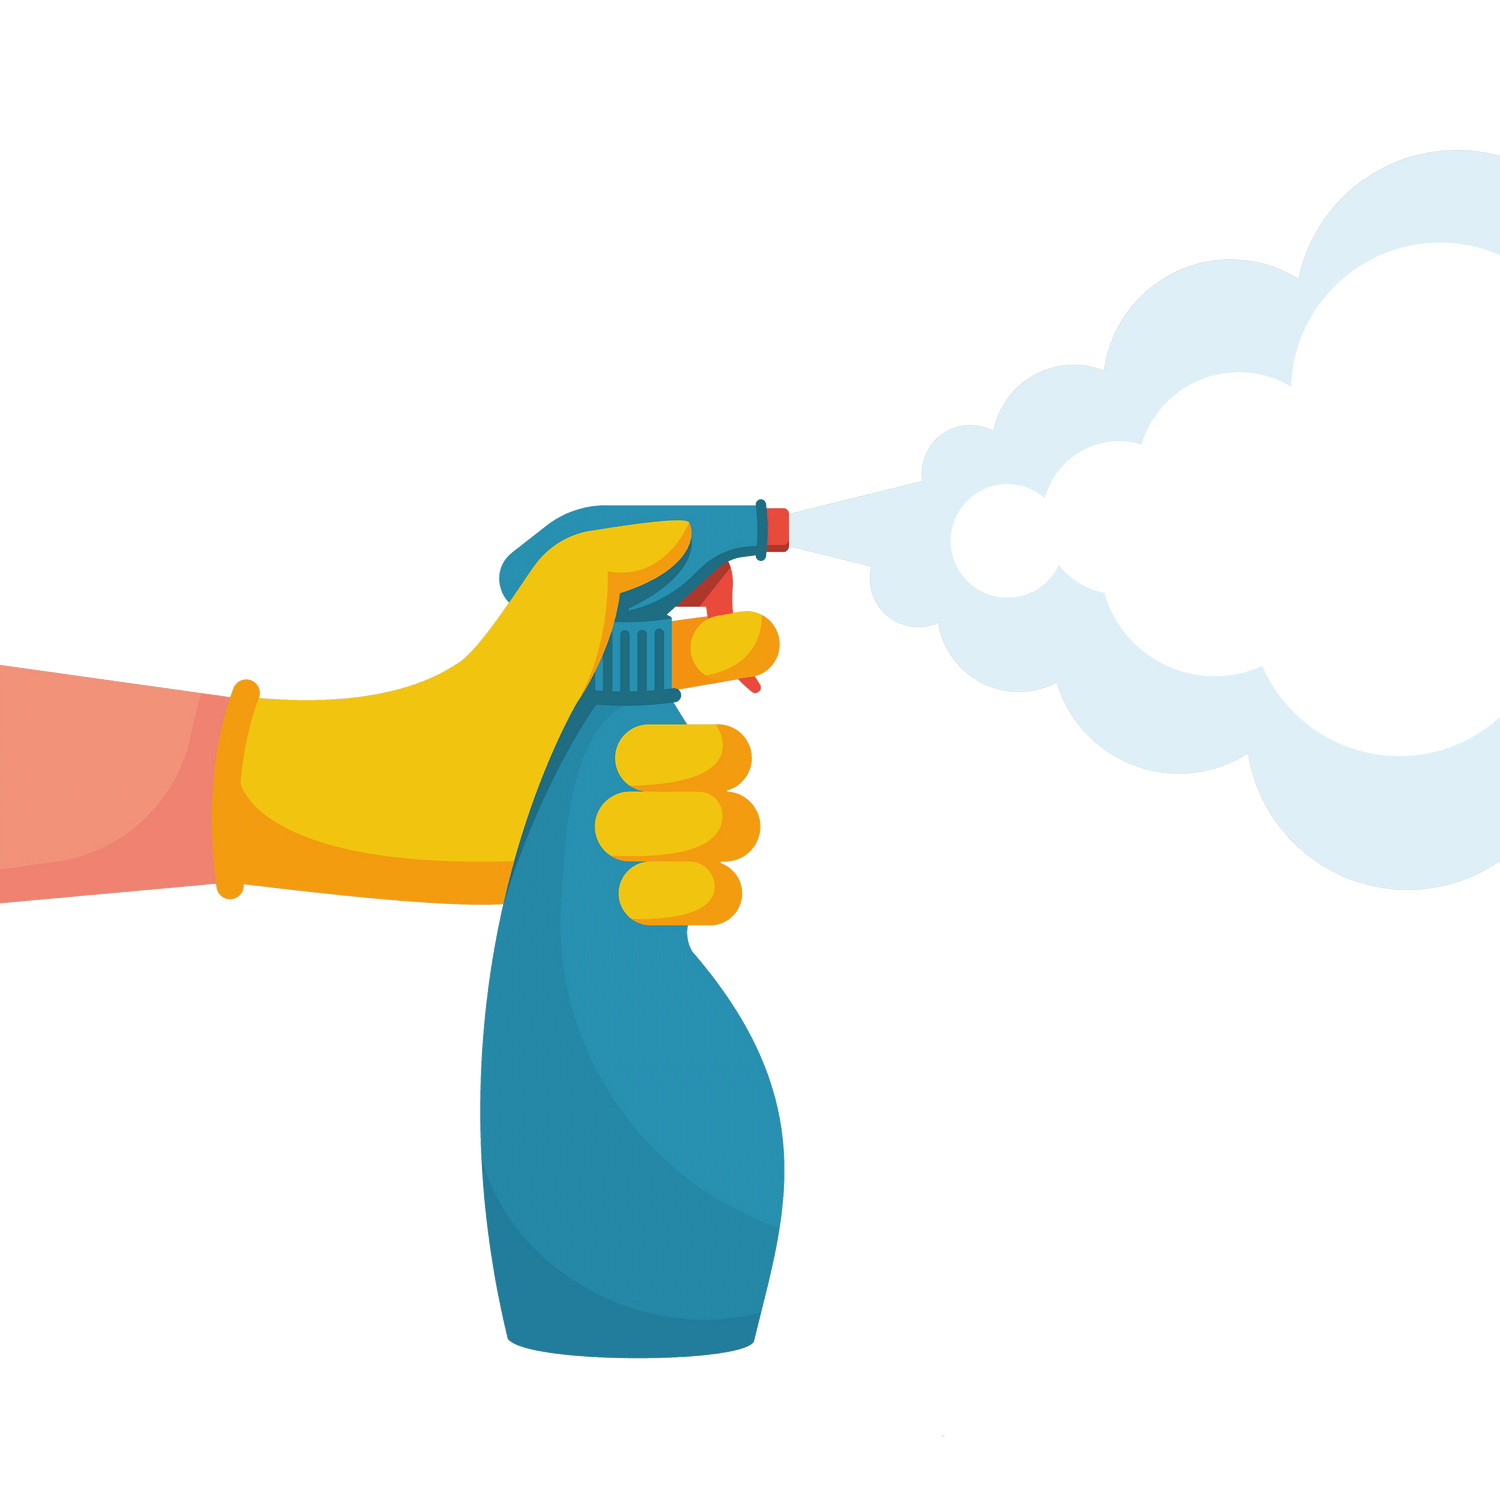
Clean the intended surface
- Thoroughly clean the surface you want to stick your decal onto with methylated spirits and then completely dry it with a cloth.

CAREFULLY smooth over the decal surface
- Use a plastic card or rag to firmly smooth over the plastic app tape before peeling off the backing paper to ensure all parts of your decal are transferred.
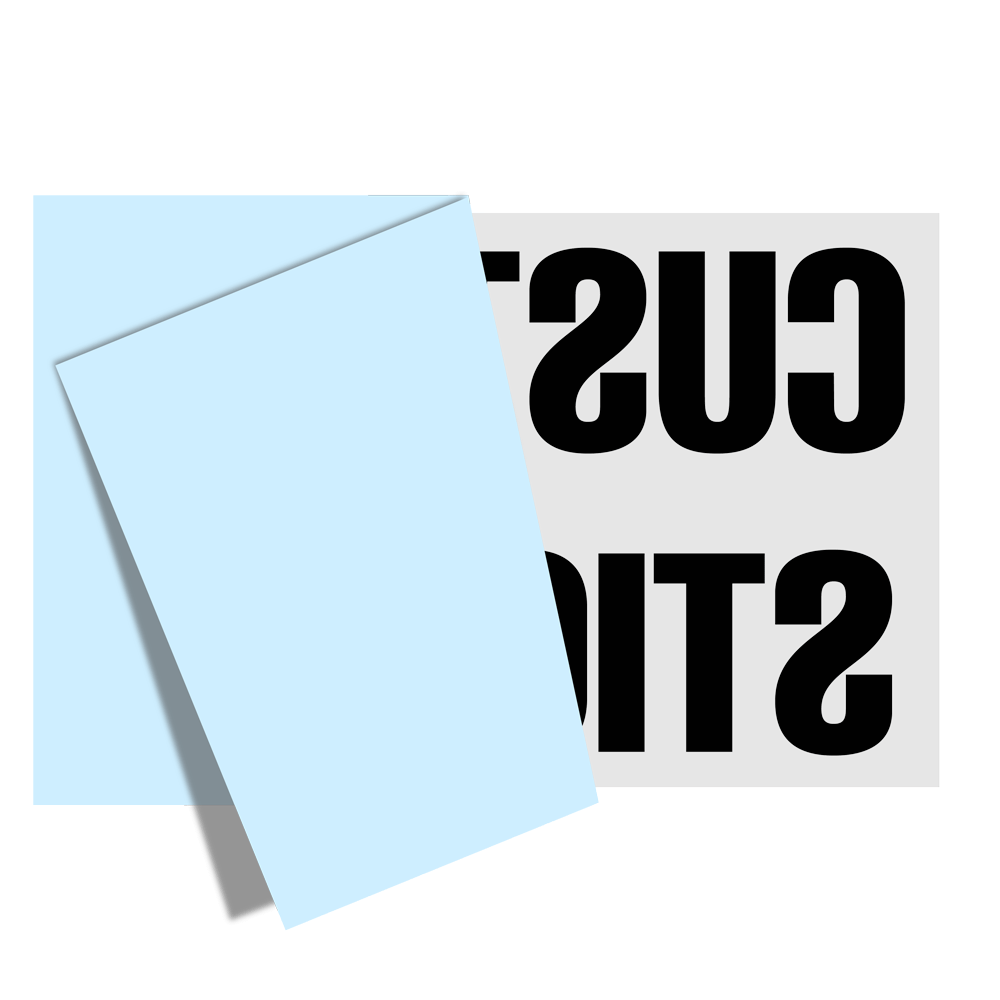
SLOWLY peel off the backing paper
- Turn over the decal so the backing paper is facing you and SLOWLY peel off the blue or white backing paper ensuring all parts of the decal stick to the clear application tape layer.
- If any parts stubbornly remain stuck to the paper layer CAREFULLY place the decal back down and firmly press the stubborn part onto the clear app tape layer with your thumb and try to peel again.
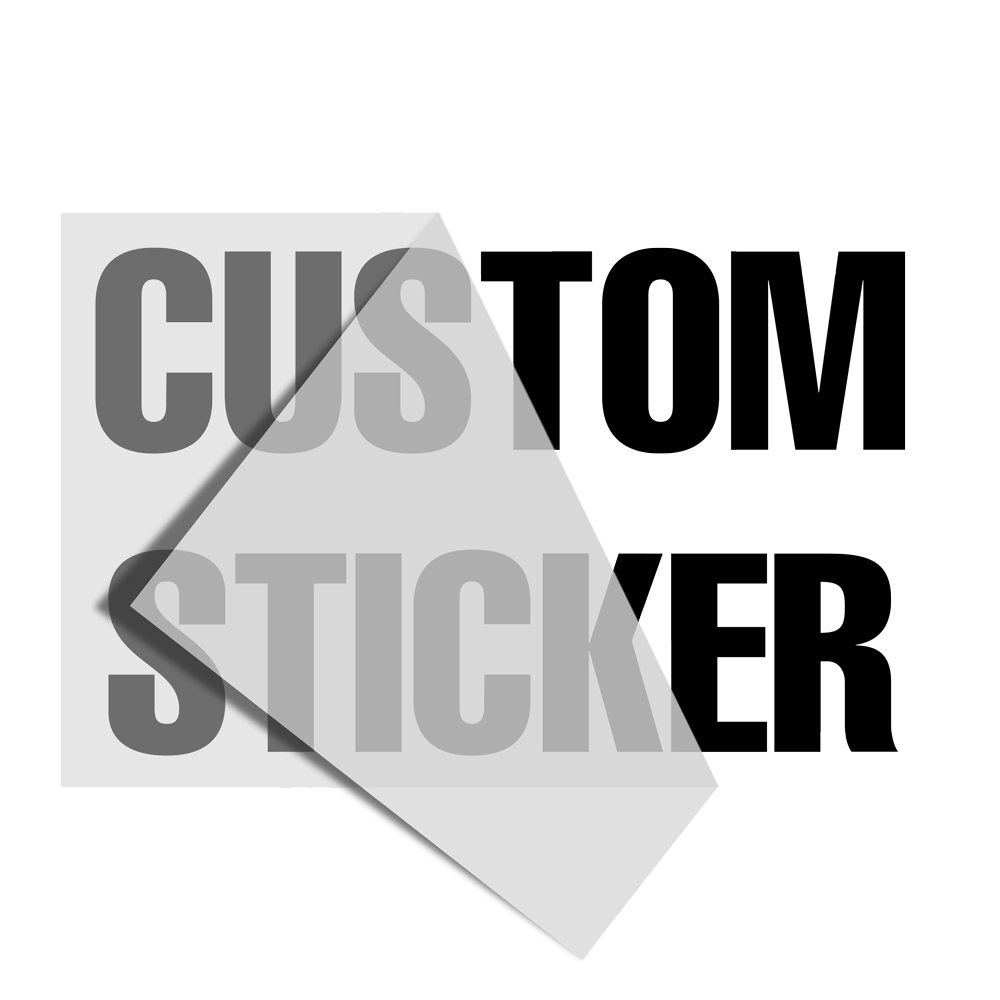
Ready to apply!
- You should now be left with a clear application tape layer that has all of the decal elements attached to it, and an empty piece of backing paper which you can now discard!

CAREFULLY position your decal
- CAREFULLY position your decal on the intended surface as it can't be moved once applied!
- Once in position firmly smooth over the decal with a rag or card to ensure all parts of the decal stick to the intended surface.
SLOWLY peel off the application tape
- You can now begin to SLOWLY peel away the clear application tape layer ensuring all parts of the decal stick to the intended surface.
- If any parts stubbornly remain stuck to the clear app tape layer carefully place the app tape back down and firmly press the stubborn part onto the desired surface with your thumb and try to peel again.

You are done!
- Your decal should now be applied! If there are any small air bubbles trapped under your sticker use a very fine needle to prick a small hole and slowly smooth out the trapped air.
Collections
-
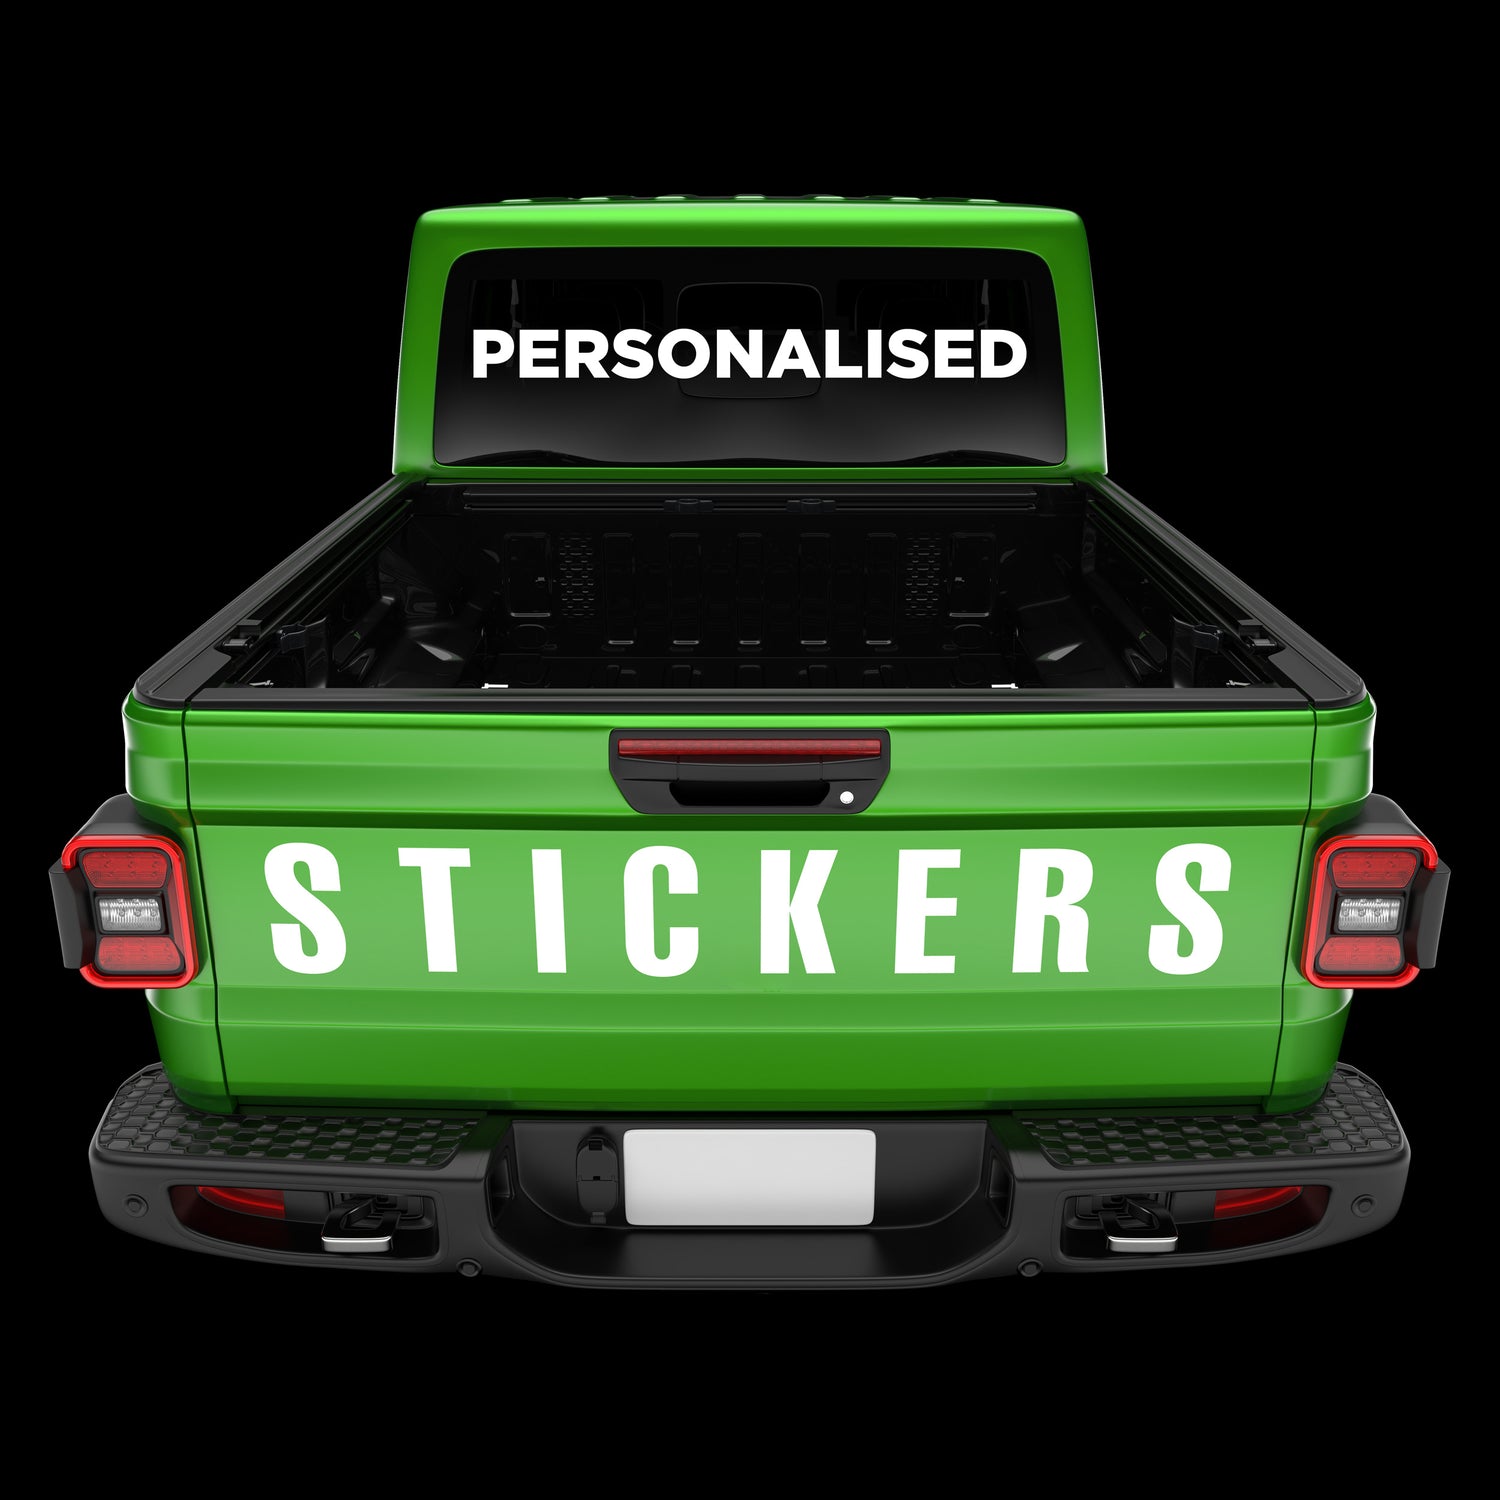
Personalised Stickers
Custom Vinyl Decals 💯 Add text or an image to design personalised...
-

Personalised Clothing
T-shirts, Hoodies, and Totes 👕 Add text or an image to design...
-
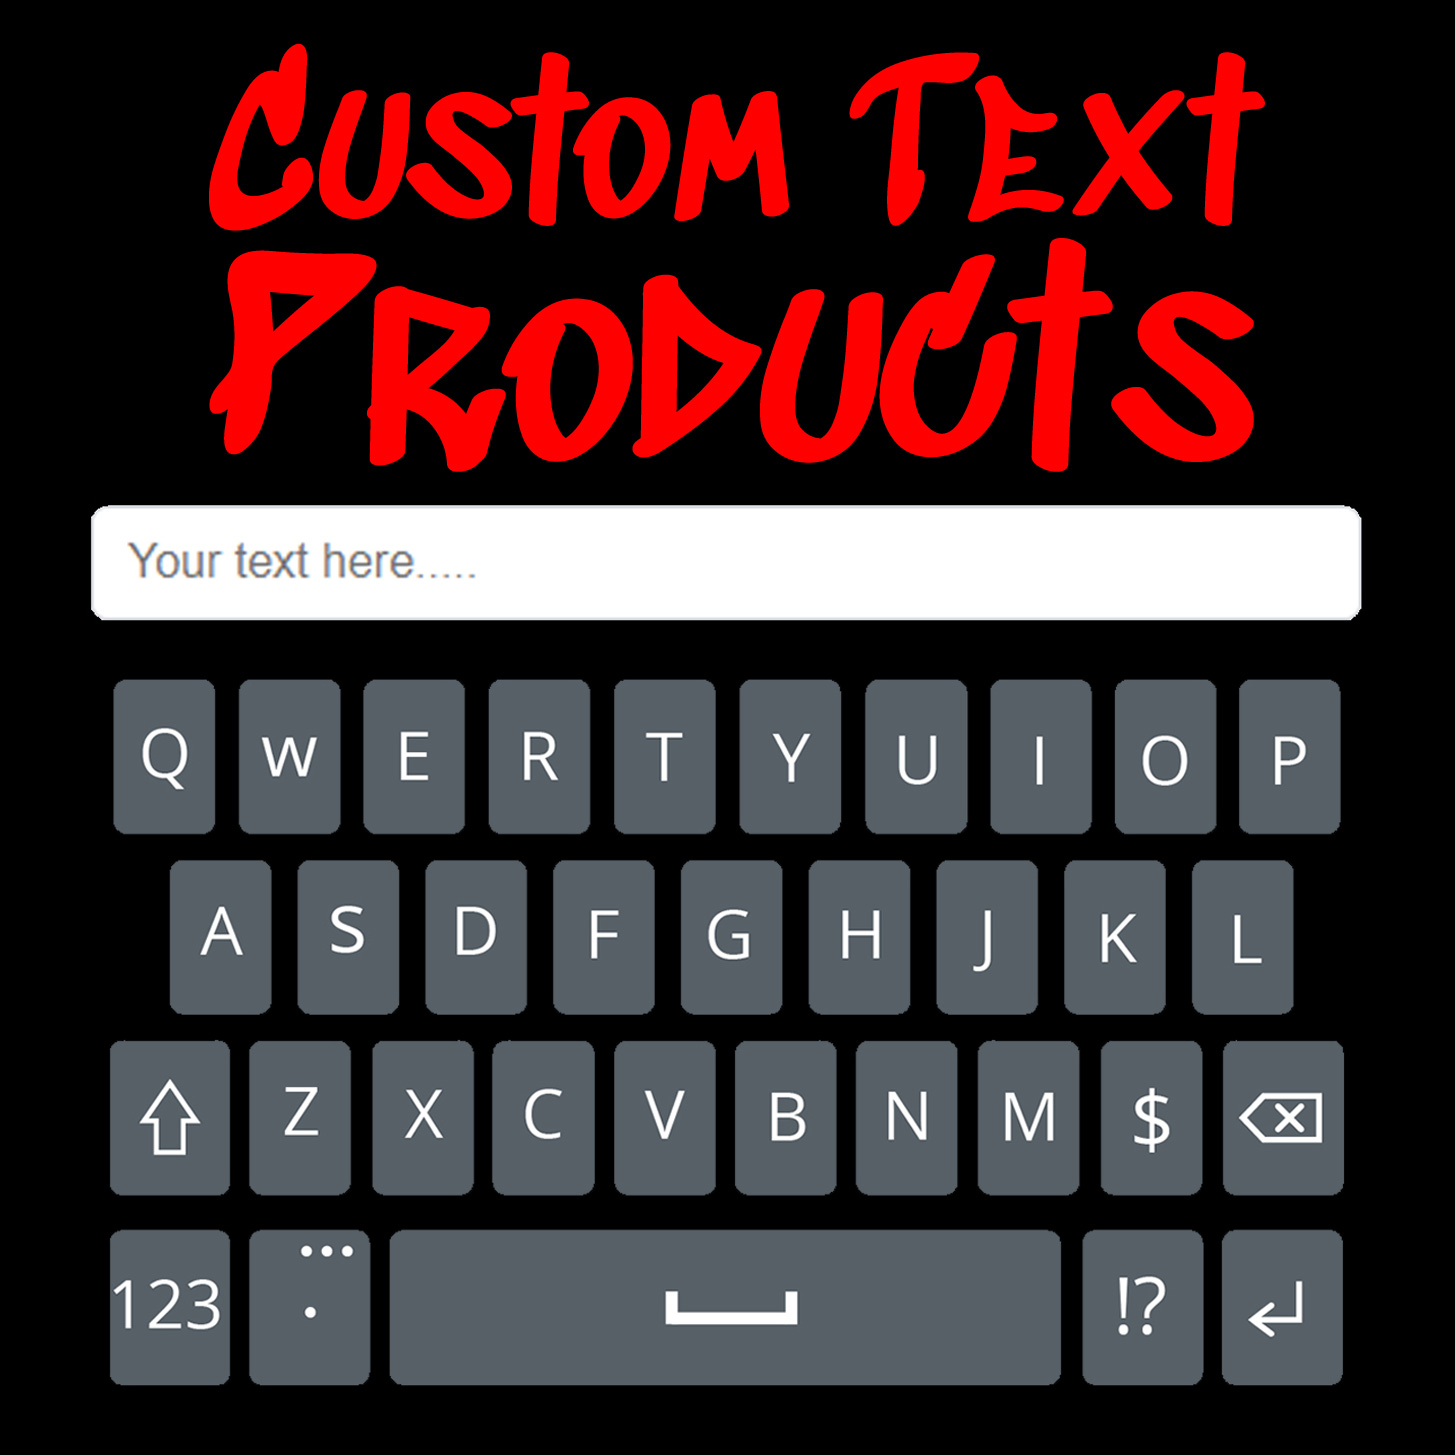
Custom Text Products
100s of fonts to choose from 📜 Make a statement with custom...
-
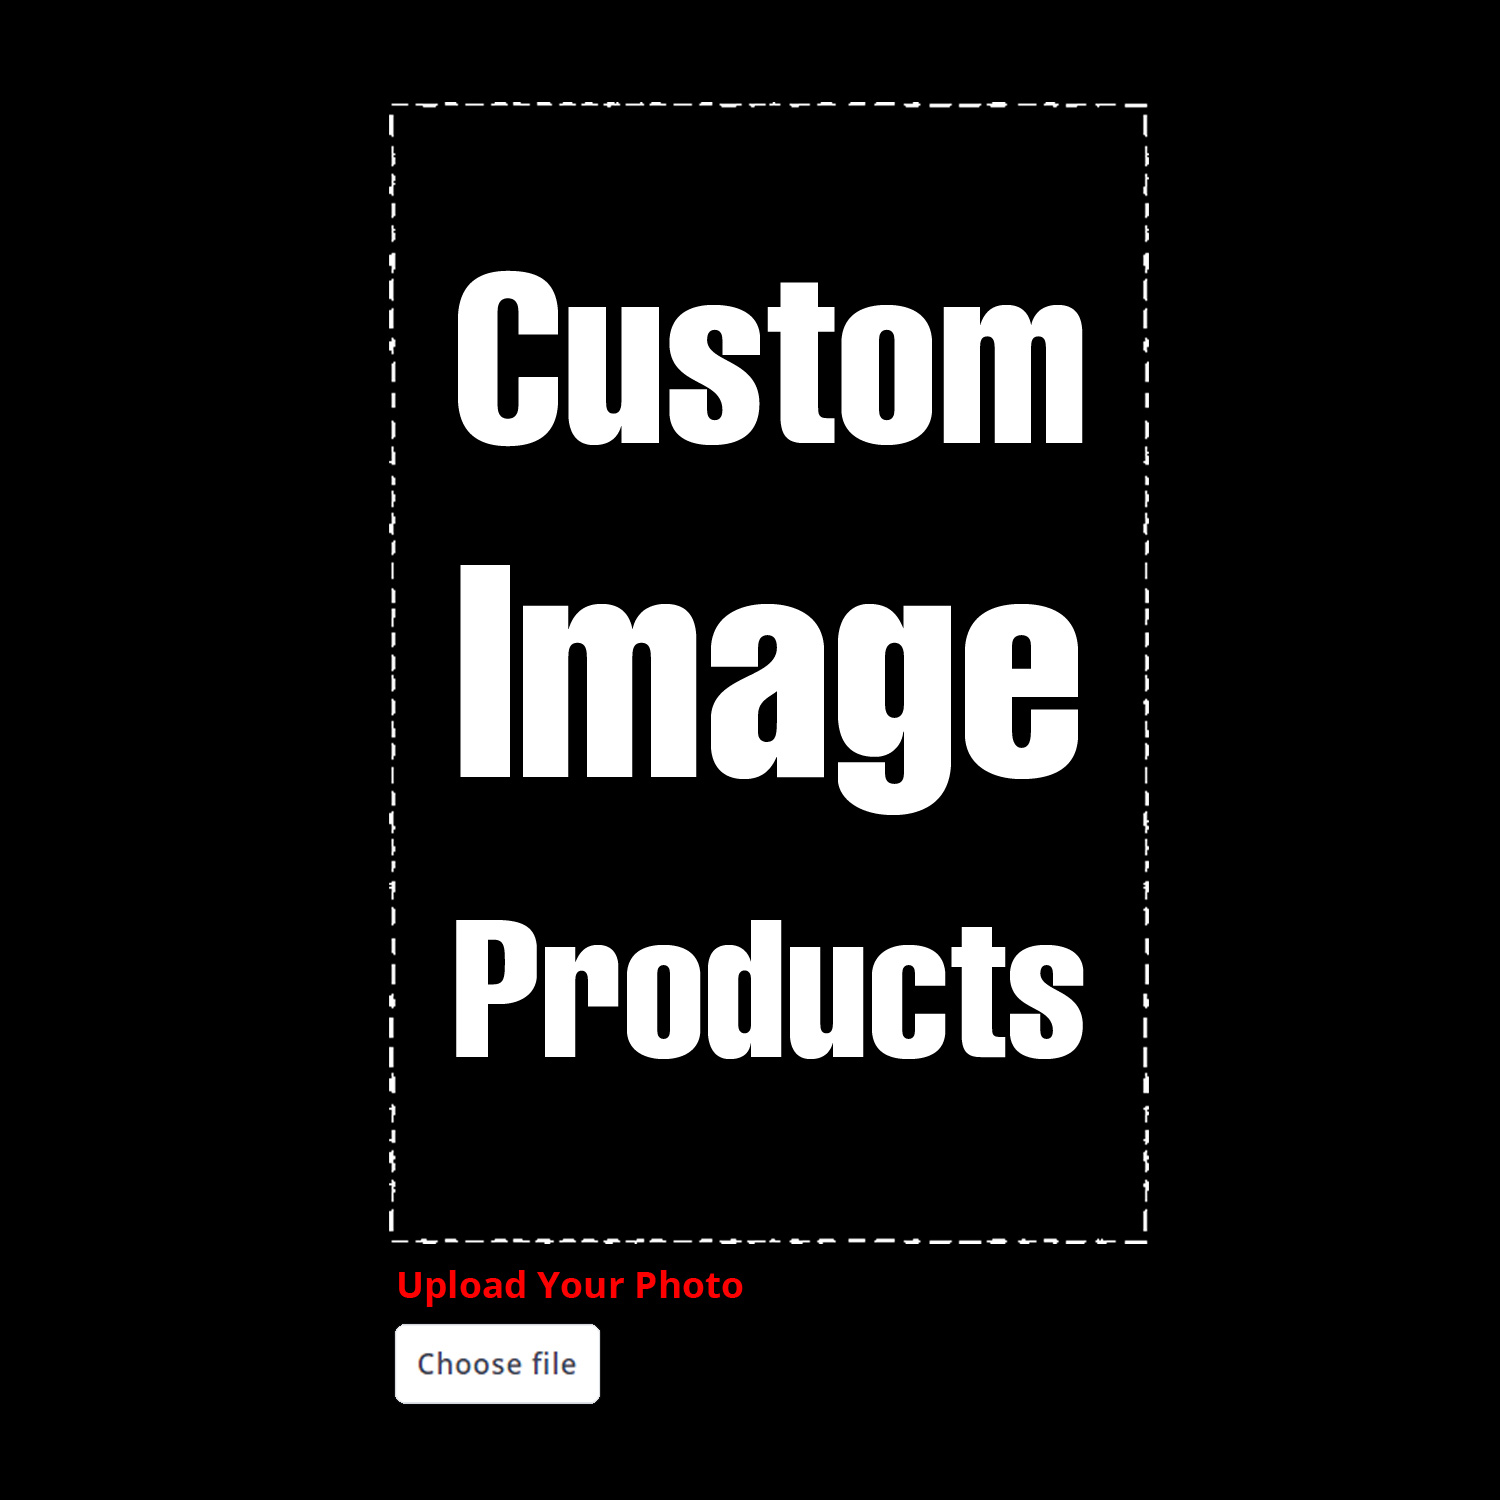
Custom Image Products
Personalised Photo or Logo 🖼️ Stand out from the crowd with custom...
-

Ready Made Decals
Hundreds of sticker designs ⚡ Personalise your belongings with our ready-made vinyl...
-

Popular Stickers And Clothing
Stickers, Decals, T-shirts, Hoodies, Totes ⭐⭐⭐⭐⭐ A collection of our best-selling personalised...


IN THE STUDIO
-

Follow Me, It's Sticker Season! Boost Your Soci...
Boost your followers! Hey there, social media mavens! Are you ready to take your online presence to the next level and become the talk of the digital town? Well, buckle...
Follow Me, It's Sticker Season! Boost Your Soci...
Boost your followers! Hey there, social media mavens! Are you ready to take your online presence to the next level and become the talk of the digital town? Well, buckle...
-
Helvetica: The Undeniably Unique Font that Rule...
Classic Sans Fonts. In the vast realm of typography, one font has risen to prominence, ruling over the kingdom of typefaces with a stoic elegance and a touch of quirkiness....
Helvetica: The Undeniably Unique Font that Rule...
Classic Sans Fonts. In the vast realm of typography, one font has risen to prominence, ruling over the kingdom of typefaces with a stoic elegance and a touch of quirkiness....
-

The Power of Monospaced Fonts: Enhancing Readab...
MONOSPECED FONTS In the world of typography, fonts play a crucial role in conveying information effectively. While there is a wide range of font styles to choose from, monospaced fonts...
The Power of Monospaced Fonts: Enhancing Readab...
MONOSPECED FONTS In the world of typography, fonts play a crucial role in conveying information effectively. While there is a wide range of font styles to choose from, monospaced fonts...


